
|
|
BVR Combat in Flanker 2.51 - AIM54 |
Home |
AIM54 |
R33 |
Tables/Charts |
Links |
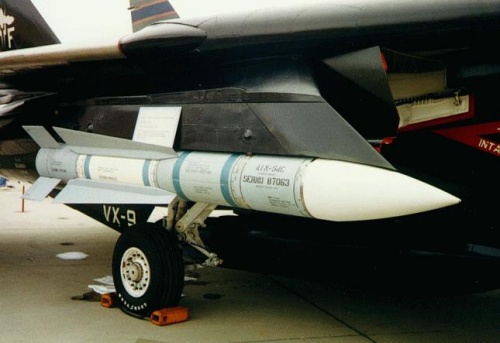
The AIM 54 Phoenix as featured in Flanker 2.5x is the premier long-range AA missile carried by the F14. It features an active seeker head which makes it a fire-and-forget weapon. Even if you destroy it's launch platform the Phoenix will still keep coming at you. There is a perfect example of this in the main video where I still had to evade the AIM54 even though the F14 was destroyed by my R77.
The AIM54 as modeled in Flanker 2.5x is relatively easy to evade. When I say easy don't expect to fire up the simulation and evade the missile as easily as eating peanuts at a movie. You need to develop good situational awareness and practice, practice, practice...
What facilitates evading the Phoenix is the fact that you can actually SEE the trail of the missile as it chases you. With practice you will know when to start your evasive maneuver.
For those that like text-book procedures here it is :
![]() Get into a
favourable initial position (at least 3000 meters altitude and 60 kms away from
the F14). Sometimes you simply cannot get within these parameters. In that case
you have two options : run away or lit your burners to get into a good position
- in which case you will need to watch your fuel. These are optimum conditions
but you can successfully fight F14s under less favourable conditions.
Get into a
favourable initial position (at least 3000 meters altitude and 60 kms away from
the F14). Sometimes you simply cannot get within these parameters. In that case
you have two options : run away or lit your burners to get into a good position
- in which case you will need to watch your fuel. These are optimum conditions
but you can successfully fight F14s under less favourable conditions.
![]() Stabilise
your speed between 950 and 980 kmh. This is the optimum AIM54-evading speed.
There are two tactical approaches to this: maintain the speed throughout the
engagement (using autothrottle key "J") or get within these parameters
only while executing the evasive maneuver.
Stabilise
your speed between 950 and 980 kmh. This is the optimum AIM54-evading speed.
There are two tactical approaches to this: maintain the speed throughout the
engagement (using autothrottle key "J") or get within these parameters
only while executing the evasive maneuver.
![]() Launch your missiles when 5 - 10kms within the launch envelope - it usually does
not make sense to launch as soon as you get launch authorisation. I fire my R77s
from 46-48 kms away. Deploying semi-active missiles against opponents using the
Phoenix is not recommended.
Launch your missiles when 5 - 10kms within the launch envelope - it usually does
not make sense to launch as soon as you get launch authorisation. I fire my R77s
from 46-48 kms away. Deploying semi-active missiles against opponents using the
Phoenix is not recommended.
![]() When you get your incoming missile warning tone put the Phoenix on your 3 or 9
o'clock immediately. I preffer placing it on my 3 o'clock but you might preffer
otherwise. Sometimes the tactical situation (read : SAM threats) will dictate
whether you place the AIM54 on your left or on your right.
When you get your incoming missile warning tone put the Phoenix on your 3 or 9
o'clock immediately. I preffer placing it on my 3 o'clock but you might preffer
otherwise. Sometimes the tactical situation (read : SAM threats) will dictate
whether you place the AIM54 on your left or on your right.
![]() Once the missile path is perpendicular to your course bank slightly into the
incoming missile. This is done with the intention of continualy keeping the
incoming missile at right angles to you - thus making it lose energy.
Once the missile path is perpendicular to your course bank slightly into the
incoming missile. This is done with the intention of continualy keeping the
incoming missile at right angles to you - thus making it lose energy.
![]() Using helmet mode look in the general direction of the incoming missile. As you
will be banked into it lift your view slightly. In a clear day - night you will
be able to see it coming. First as a faint trail then you will see the glow of
the booster as it approaches. When you see it do not panic. Wait for the right
moment.
Using helmet mode look in the general direction of the incoming missile. As you
will be banked into it lift your view slightly. In a clear day - night you will
be able to see it coming. First as a faint trail then you will see the glow of
the booster as it approaches. When you see it do not panic. Wait for the right
moment.
![]() The key to avoiding the Phoenix is timing. It is a bit difficult to describe the
moment but I like what Rich says: "...when the missile starts visibly
accelerating accross your screen it is time start the avoiding
maneuver...". Thanks Rich. You will need practice to get it right. After a
while you will do it easily. And yes, you will get rusty if you do not keep
practicing.
The key to avoiding the Phoenix is timing. It is a bit difficult to describe the
moment but I like what Rich says: "...when the missile starts visibly
accelerating accross your screen it is time start the avoiding
maneuver...". Thanks Rich. You will need practice to get it right. After a
while you will do it easily. And yes, you will get rusty if you do not keep
practicing.
![]() The maneuver has two parts to it: First you pull directly into the missile then
you dive towards the ground. With practice it will become one smooth motion
where it is difficult to say when one ends and the other one starts. In each
video I have dodged 4 Phoenixes. It should give you a pretty good idea of how to
do it.
The maneuver has two parts to it: First you pull directly into the missile then
you dive towards the ground. With practice it will become one smooth motion
where it is difficult to say when one ends and the other one starts. In each
video I have dodged 4 Phoenixes. It should give you a pretty good idea of how to
do it.
Should you use chaff and flares ? If you do this right you will not need them. But they have statistically been proven to be effective in about 15% of the time so yes - deploy them. Develop a habit to do it whether you need it or not. Just don't forget to stop dispensing them after the threat is gone (yes, it happens to me all the time).
One last thing. Always presume your R77 will miss ie. get into another launch position as soon as possible. Lock onto the target. If you see it's altitude decreasing rapidly you probably killed the bogey. If not deploy another missile. Be aware that even a destroyed target can continue climbing for a while. If you have missiles to spare it will not hurt if you use another. If you are low you might want to wait until you are sure you need another. Just don't wait too long - if there is another Phoenix coming your way you will need some time to place it off your wing.
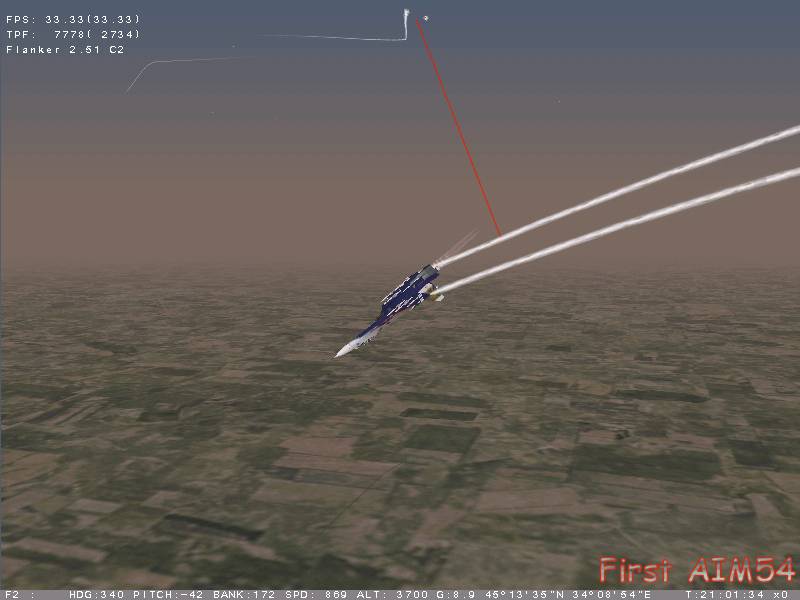
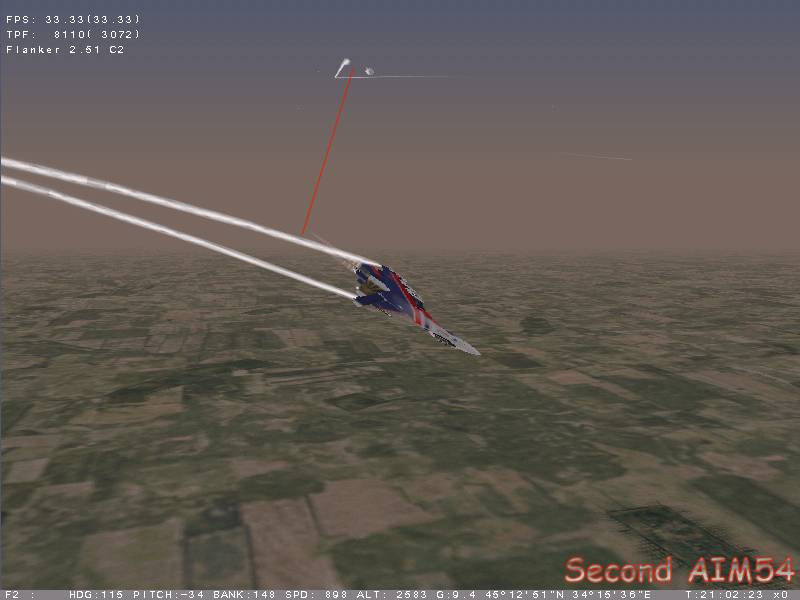
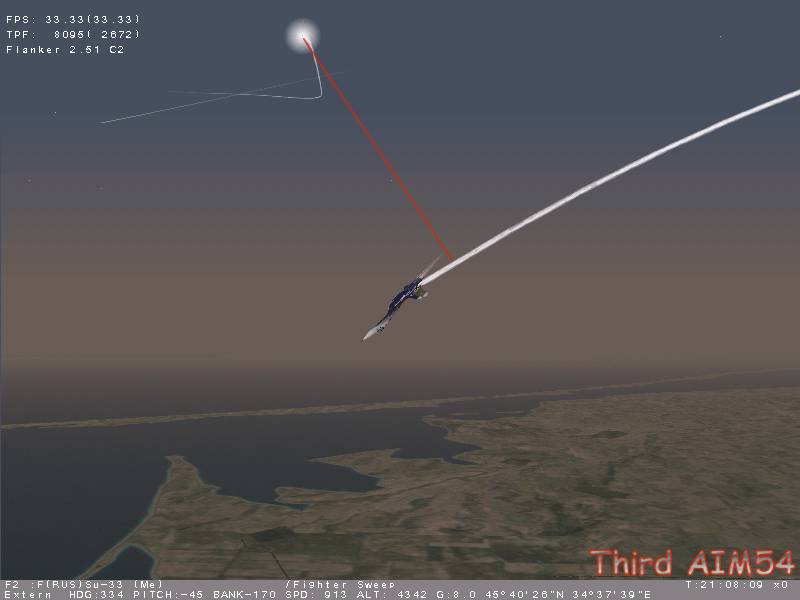
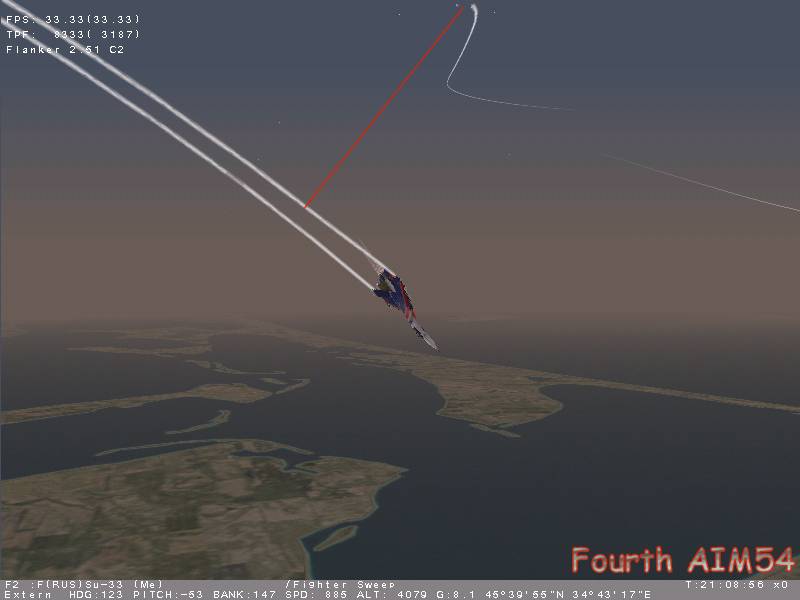
As a finishing touch here are some screenshots from the video. They show how well/bad the avoiding maneuvers were executed. The red line in each shot shows the estimated minimal distance between the missile and the target. Be aware that Flanker 2.5x has a bug which gives you a much wider margin of safety while recording a flight. I suspect that out of the four tries three would also have worked if I had not been recording. But I am not sure about the fourth one. This does not mean the procedure is flawed - it is not - it just means I need more practice.
Home |
AIM54 |
R33 |
Tables/Charts |
Links |