
|
|
BVR Combat in Flanker 2.51 - R33 |
Home |
AIM54 |
R33 |
Tables/Charts |
Links |
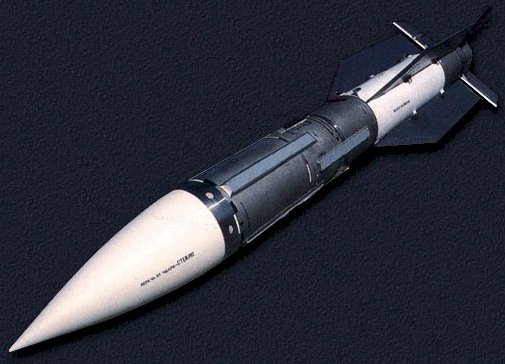
The R33E (NATO codename AA9 "Amos") as featured in Flanker 2.5x is the longest-range AA missile carried by Russian aircraft. It is very similar in performance to the AIM54 Phoenix. The one big difference between the two is the fact that the booster on the R33E burns out much sooner than on the Phoenix. As a result, it becomes invisible to you and it cannot be defeated with a clear-cut maneuver like it's US counterpart. In the initial stage of flight it is guided toward the target by the launch platform (Mig31). At a certain point the active seeker head takes over and the missile effectively becomes a fire-and-forget weapon.
The procedure to defeat the R33E as described on these pages is based on the following premises:
![]() You need enough speed to be able to bleed the missile of it's energy.
You need enough speed to be able to bleed the missile of it's energy.
![]() You cannot
see it - therefore you need to have a maneuver that you can execute that gives
you acceptable odds of surviving the engagement.
You cannot
see it - therefore you need to have a maneuver that you can execute that gives
you acceptable odds of surviving the engagement.
In a nutshell the procedure I use is the following:
![]() Get into a
favourable intial position: at least 6000 m altitude and 60-70 kms away from the
Mig31.
Get into a
favourable intial position: at least 6000 m altitude and 60-70 kms away from the
Mig31.
![]() Engage
afterburners as you head towards the bogey. Slowing down will have no effect -
you will still be launched at while you will not have enough speed to dodge the
Amos as it homes in on you later.
Engage
afterburners as you head towards the bogey. Slowing down will have no effect -
you will still be launched at while you will not have enough speed to dodge the
Amos as it homes in on you later.
![]() As soon as
you have lock on target launch your R77. Notice that this is slightly different
from engaging the F14 where you need to wait a while before actually firing your
weapon.
As soon as
you have lock on target launch your R77. Notice that this is slightly different
from engaging the F14 where you need to wait a while before actually firing your
weapon.
![]() Turn as
smoothly as possible into the ground and position the R33E at your 3 or 9
o'clock. Level off your wings and let go of the stick. Yes, let go. You will
gain speed much faster by letting go of the stick than by controlling the dive.
Just remember to start pulling up on time. With practice you will know when you
need to do that - and it also depends on your speed. If you watch all videos you
will see that the ones where I had a controlled dive did not give me the same
maximum speed even though the dive was initiated from the same altitude.
Turn as
smoothly as possible into the ground and position the R33E at your 3 or 9
o'clock. Level off your wings and let go of the stick. Yes, let go. You will
gain speed much faster by letting go of the stick than by controlling the dive.
Just remember to start pulling up on time. With practice you will know when you
need to do that - and it also depends on your speed. If you watch all videos you
will see that the ones where I had a controlled dive did not give me the same
maximum speed even though the dive was initiated from the same altitude.
![]() As soon as
you level off (100-500 meters from the ground - the lower the better) bank hard
away from the R33E. If you did it right (meaning you have enough speed) it will
never catch up with you. As a rule of thumb you will need at least 1500-1600 kmh
as you start your bank. If you have less than 1500 kmh you can be pretty sure
you are dead meat. In border case situations a little corkscrewing might save
your beacon (as seen in the alternate .trk - missile # 2 - it really was very
close).
As soon as
you level off (100-500 meters from the ground - the lower the better) bank hard
away from the R33E. If you did it right (meaning you have enough speed) it will
never catch up with you. As a rule of thumb you will need at least 1500-1600 kmh
as you start your bank. If you have less than 1500 kmh you can be pretty sure
you are dead meat. In border case situations a little corkscrewing might save
your beacon (as seen in the alternate .trk - missile # 2 - it really was very
close).
![]() Hope your
R77 (or any other active-seeker-head missile) did it's job. This brings us to
the major drawback of this procedure - as you pull out of your maneuver you will
be low (meaning short ranges for any missiles you still have left), you will be
in a defensive situation (meaning there is another AA9 coming while you are
still trying to figure out from where) and you will be out of energy (meaning
there is no way you can execute this procedure again). What works to your
advantage is that the Mig31 is a very fast bird but unlike the F14 it is not as
maneuverable - the chances of getting a hit with a single missile are much
higher when targeting a Mig31 compared to an F14. This is clearly visible in the
video. 2F14s needed 4 missiles while 3 Mig31s needed 3 missiles - the fourth one
had nowhere to go as it's predecessor hit home.
Hope your
R77 (or any other active-seeker-head missile) did it's job. This brings us to
the major drawback of this procedure - as you pull out of your maneuver you will
be low (meaning short ranges for any missiles you still have left), you will be
in a defensive situation (meaning there is another AA9 coming while you are
still trying to figure out from where) and you will be out of energy (meaning
there is no way you can execute this procedure again). What works to your
advantage is that the Mig31 is a very fast bird but unlike the F14 it is not as
maneuverable - the chances of getting a hit with a single missile are much
higher when targeting a Mig31 compared to an F14. This is clearly visible in the
video. 2F14s needed 4 missiles while 3 Mig31s needed 3 missiles - the fourth one
had nowhere to go as it's predecessor hit home.
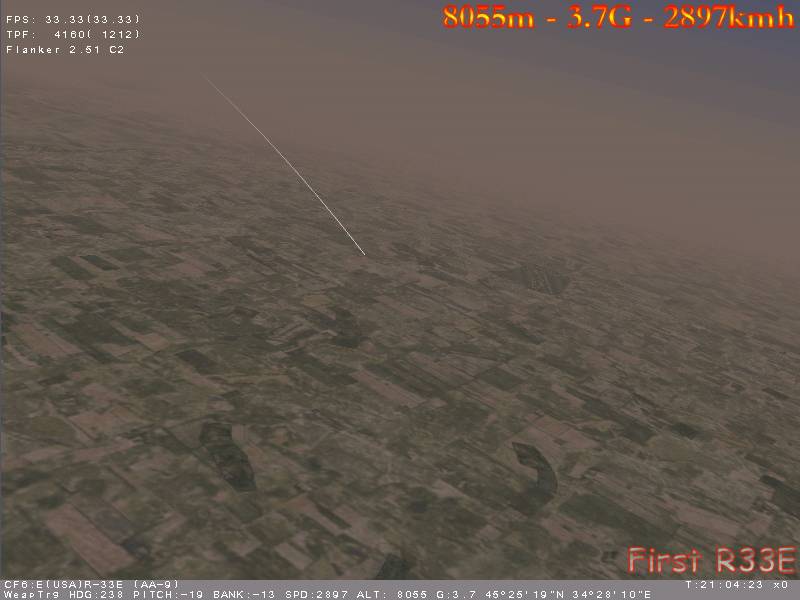
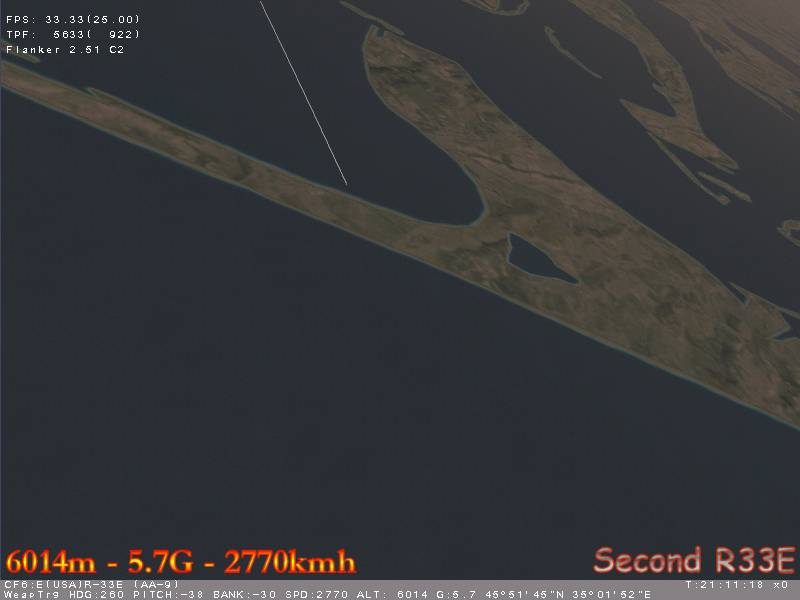
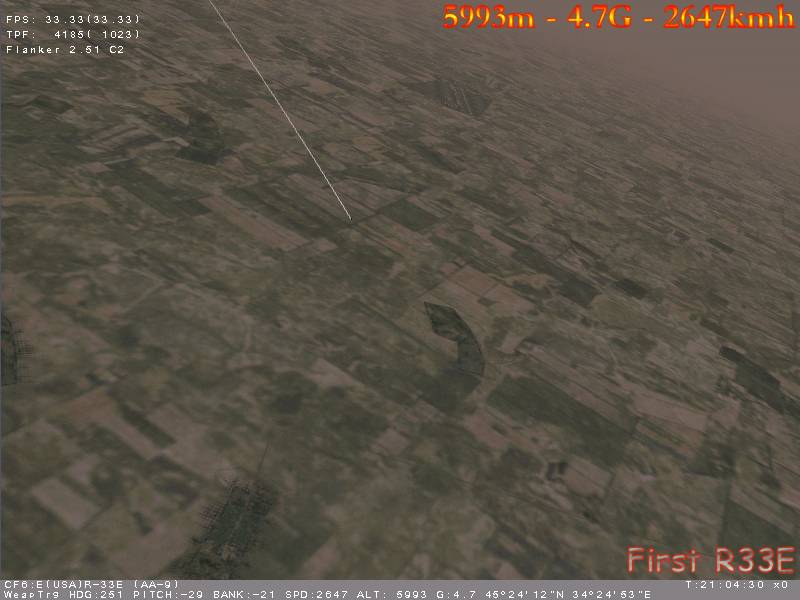
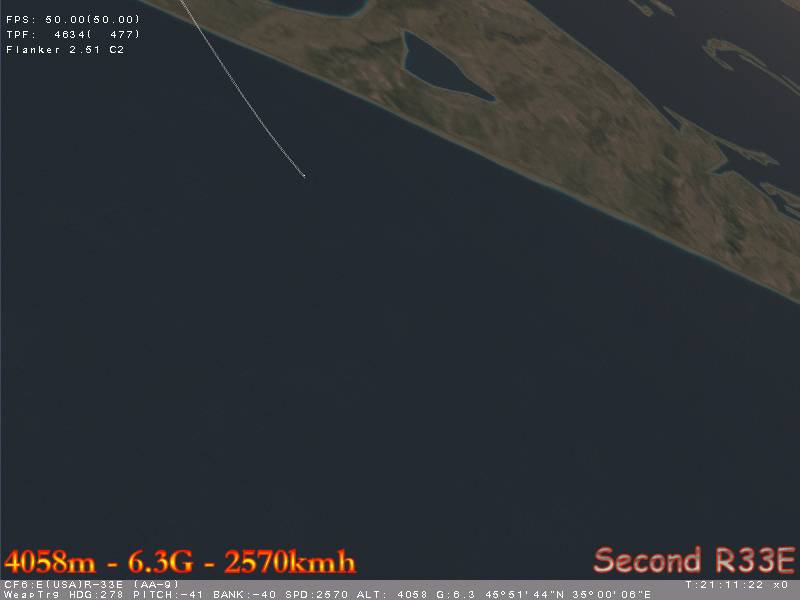
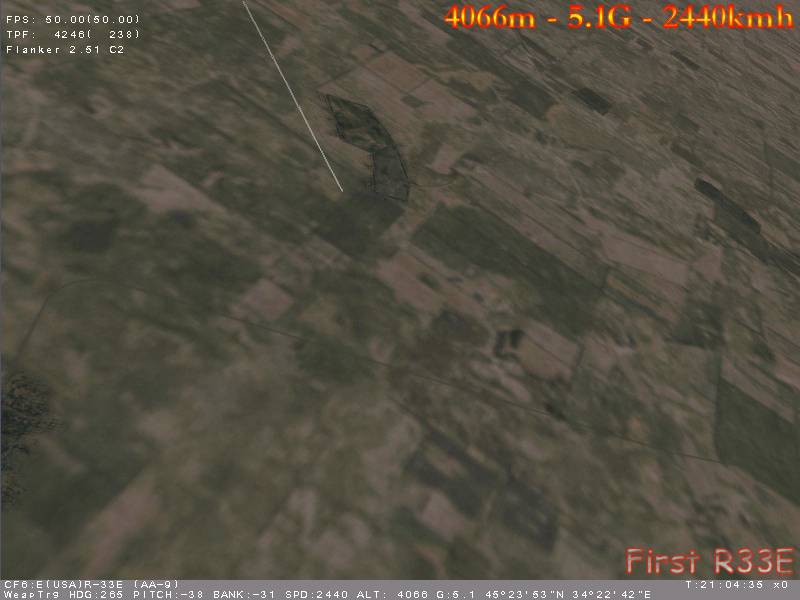
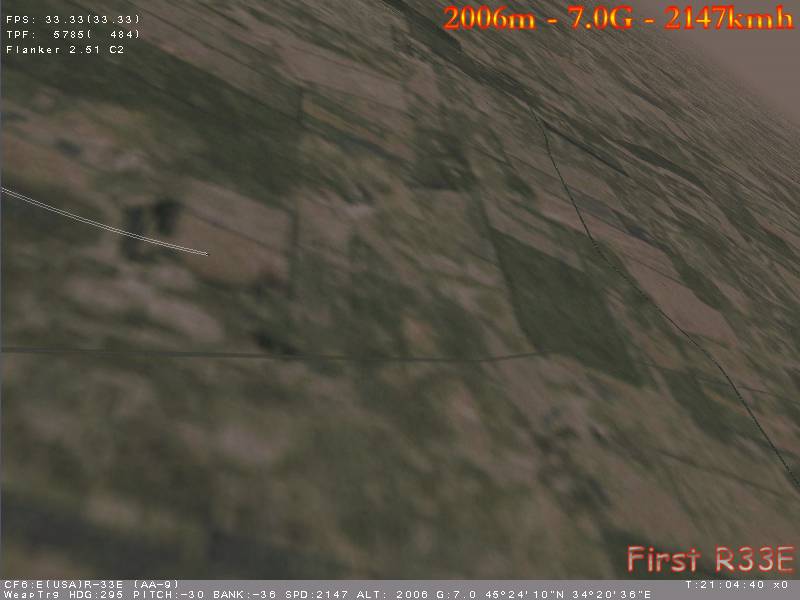
Here are some screenshots from the main video depicting how I defeated the two R33Es. They are grouped in groups of two: They show the energy state at 4 different moments for both R33Es. Notice that I had more speed in avoiding the second missile.

![]()
![]()
![]()

![]()
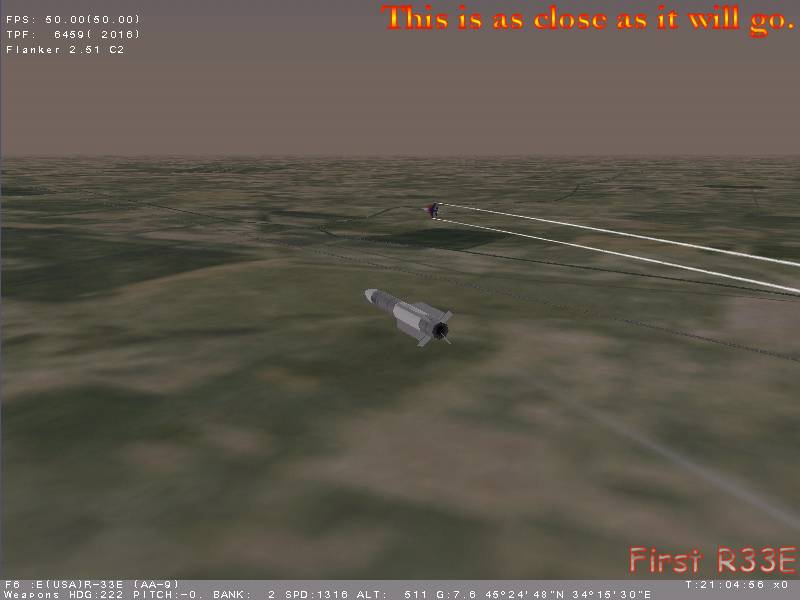
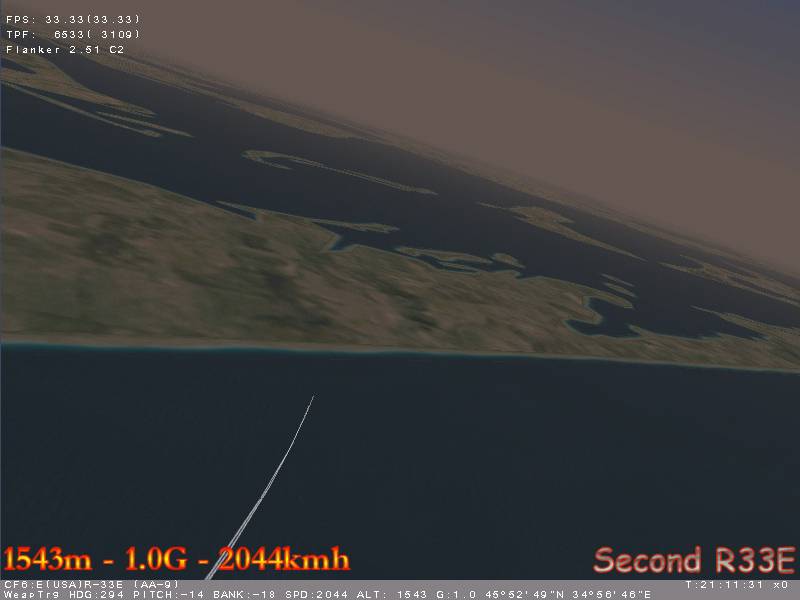
Notice that the seeker head on this last screenshot had not gone active yet. As the launch platform was destroyed the missile went ballistic (G = 1.0). The target was still very very far away (due to it's high speed). Bonus !
Home |
AIM54 |
R33 |
Tables/Charts |
Links |