TAR 2.51 walk-through
5/7
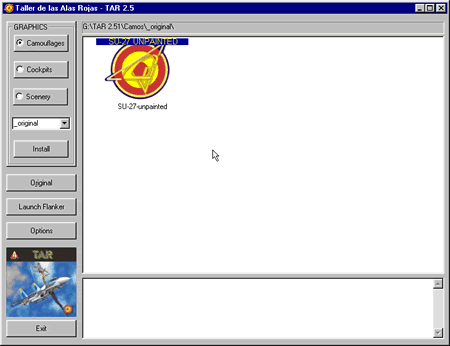
Tip: Since you are restoring a backup copy of an original file now, you are not given the option to make another backup copy of the file you're about to overwrite.

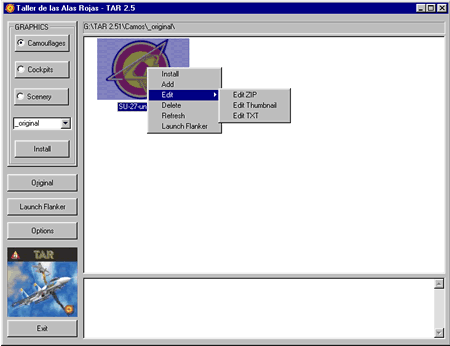
- "Add": This is your way to copy downloaded textures to TAR's appropriate subdirectories without having to leave the program. You'll be asked to select a zip file to be copied to the directory you're current in. It could be the camouflage, cockpit or scenery directories or any subdirectory you may have created (we'll discuss about this in a minute). Once a zip file has been selected, the program will look for the accompanying text and thumbnail files. If found, they will also be moved along with the .zip file.
- "Edit": Let's you edit any of the three file types used by the new textures. As you already know, they are one text, one image (thumbnail) and one .zip file, therefore you must have the programs capable of editing each of this file formats installed on your computer.
- "Refresh": Updates the main screen, showing any changes you might have done recently.
- "Launch Flanker": I believe I don't have to explain this one, do I?
Tip: Use the "Refresh" option frequently also to update subdirectories changes.
