TAR 2.51 passo-a-passo
3/7
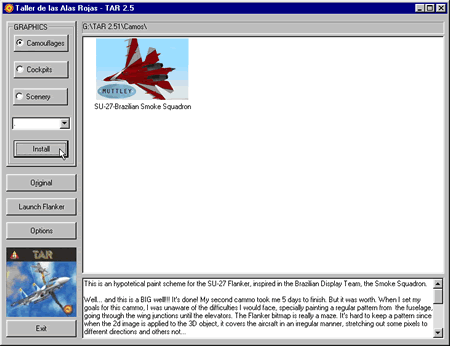
Everytime you copy a texture file to one of the directories you've set in TAR you will get a graphic representation of it on the main screen in the form of a thumbnail. If the file has its own thumbnail it will be displayed just like the above mentioned camo. Otherwise, the texture will be represented by the default "Alas Rojas" logo. Immediately below this picture you can read the file's name.
The lower portion of the screen is reserved to text files which might come with the textures you're installing. It's good habit to pay close attention to these files, since they might hold key information for running the textures correctly.
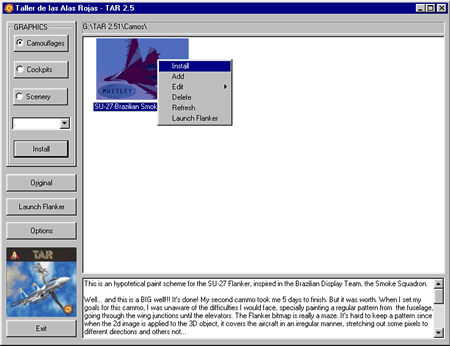
You have three options to install new textures in Flanker via TAR, despite they are camos, cockpits, scenery or any other texture.
Select the camo on the main screen and click the "Install" button on the left menu.


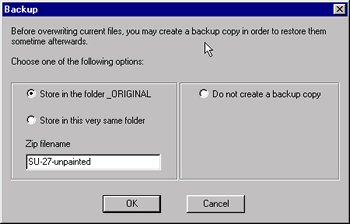
Tip: Use the "Do not create a backup copy" option when you are installing a texture over another which was just temporarily used, for instance in a multiplayer game or when testing an in development camo.
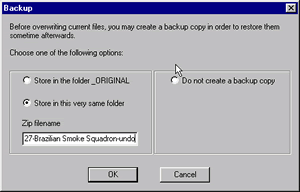
The Backup window should not be overlooked! If well managed, it can save you lots of time, trust me. If you decide to create a backup copy by choosing "Store in this very same folder", you will see the texture's filename in the "Zip filename" field with the "-undo" extension added. Click "Ok" to create the backup copy and continue with the texture installation.

Tip: Remember to choose a file name which lets you recall the paint scheme position it originally belongs to in the Flanker User Interface (Unpainted, Standard,etc) and despite obvious, leave this option to the original Flanker files only.
Click "Ok" to create the backup copy and continue with the texture installation or click "Cancel" to quit installation.
