TAR 2.51 walk-through
2/7
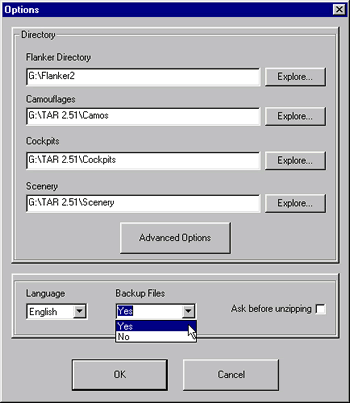
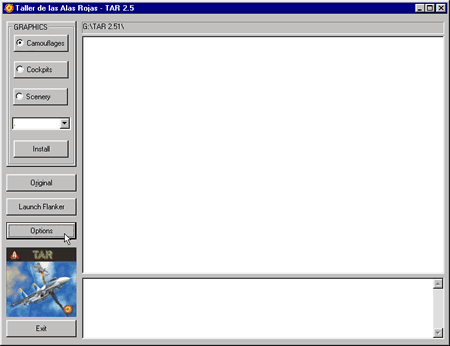
Click on the "Options" button to finish configuring TAR 2.51 to work with Flanker 2.51.
From now on, I suggest that you carefully type the subdirectories for the other fields: "Camouflages", "Cockpits" and "Scenery". I say so, because if you were to use the "Explore" button you would have to already have some file inside the chosen directories since the "Explore" window won't accept only the subdirectory path. Adding to this, you probably want to rename the subdirectories to it's English counterparts, as I did in the following picture.
Tip: Make sure you to keep all your texture directories under TAR's root directory!
Next you will find one of TAR's great new features: the "Backup Files" option!! With this option selected, TAR will be able to keep a safe copy of all your original (or custom made) texture files. So it will be easy to restore the original Flanker files, or that camo which you simply love, with a mouse click. Since TAR saves the backup copies in compressed format, you won't have to worry that much about hard disk space, but keep in mind that the more backup files, the more disk space required. So go ahead and select "Yes".
There's also a check box named "Ask before unzipping" which you should only mark if you want to be asked for a confirmation every time before installing any file. It's good to have this option to keep it on the safe side, but if you know what you're doing (and I bet you do!) just leave it unchecked because after a while this confirmation option becomes a little annoying.
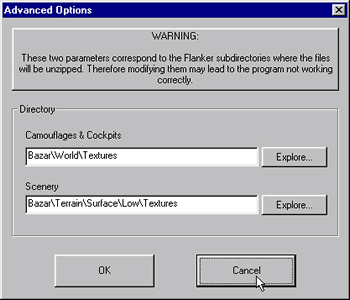
To finish setup, click on the "Advanced Options" button.